Mounting and settings
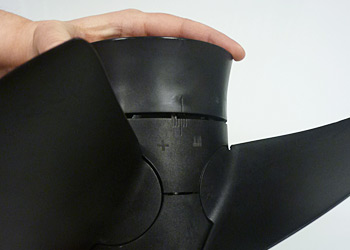
All our propellers can be adjusted to at least seven different pitches. Each blade has a number stamped into the base. The number indicates propeller pitch when the rear ring mark is aligned with the long center line.
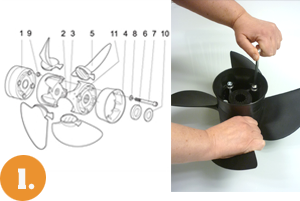
Remove the four screws (7) until the rear ring can be lifted a few millimeters.
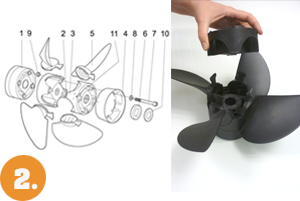
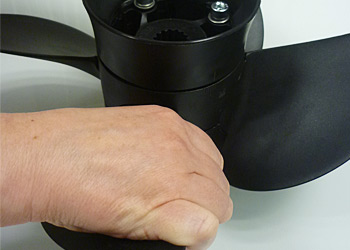
Lift the ring (4) about 2 mm so the locking teeth which engages the rear hub part (3) are released.
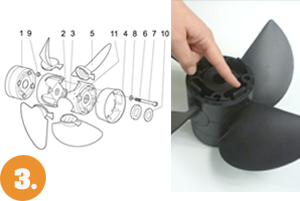
Set the desired pitch using the scale. This is easily done with the propeller lying on a table with the ring (4) pointing upwards.
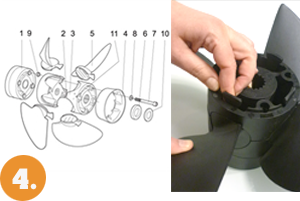
Grab two opposite blades (5) and rotate clockwise or counterclockwise until the desired pitch is obtained. The long middle line indicates the basepitch which is stamped into each bladeroot. The pitch increases by one degree for every mark on the plus side, and d:o reduces on the negative side. All four blades move in sync when one of them being turned.
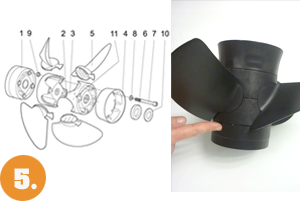
Press the ring (4) and compress the propeller so that the teeth in the ring engages with the locking grooves into the rear hub (3).
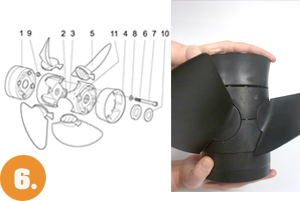
Screw the propeller together by turning the screws crosswise. Make sure all parts are properly in place. Screw together tightly and firmly without using accessive force. Use only a standard hex wrench reaching down to the screws in the hub.
